
Image source
Knitting has an unfair reputation. People picture complicated sweaters, cryptic abbreviations, and a tangle of yarn that somehow ties itself into knots while you’re making tea. If you’ve ever thought, “My hands just don’t work that way,” you’re in good company.
Here’s the truth: knitting is less like learning a musical instrument and more like learning to drive. Awkward at first, then oddly automatic—because the core skill is simple repetition. The trick is starting with the right materials, the right first project, and a realistic expectation of what “good” looks like in week one.
Why knitting feels hard (until it doesn’t)
Most beginners don’t struggle because they lack coordination. They struggle because they begin with one or more of these common traps:
Starting with the wrong yarn
That “pretty” yarn you spotted—dark, fuzzy, silky, or very thin—can be a nightmare to read. If you can’t clearly see each stitch, it’s hard to fix mistakes, and everything feels slippery and confusing.
Starting with needles that fight you
Very small needles demand tight control. Very slick metal needles can feel like stitches are trying to escape. And if your needle and yarn sizes are mismatched, you’ll battle tension from the first row.
Picking a project that’s too ambitious
A hat in the round, a fitted garment, or anything that requires counting increases/decreases early on can be discouraging. You want a project that teaches your hands first, then your brain.
The “right start”: set yourself up for easy wins
If knitting were taught like cooking, we wouldn’t hand someone a soufflé on day one. The goal is to get to a point where you can make consistent stitches, recognise what’s happening on the needles, and recover from small mistakes without panic.
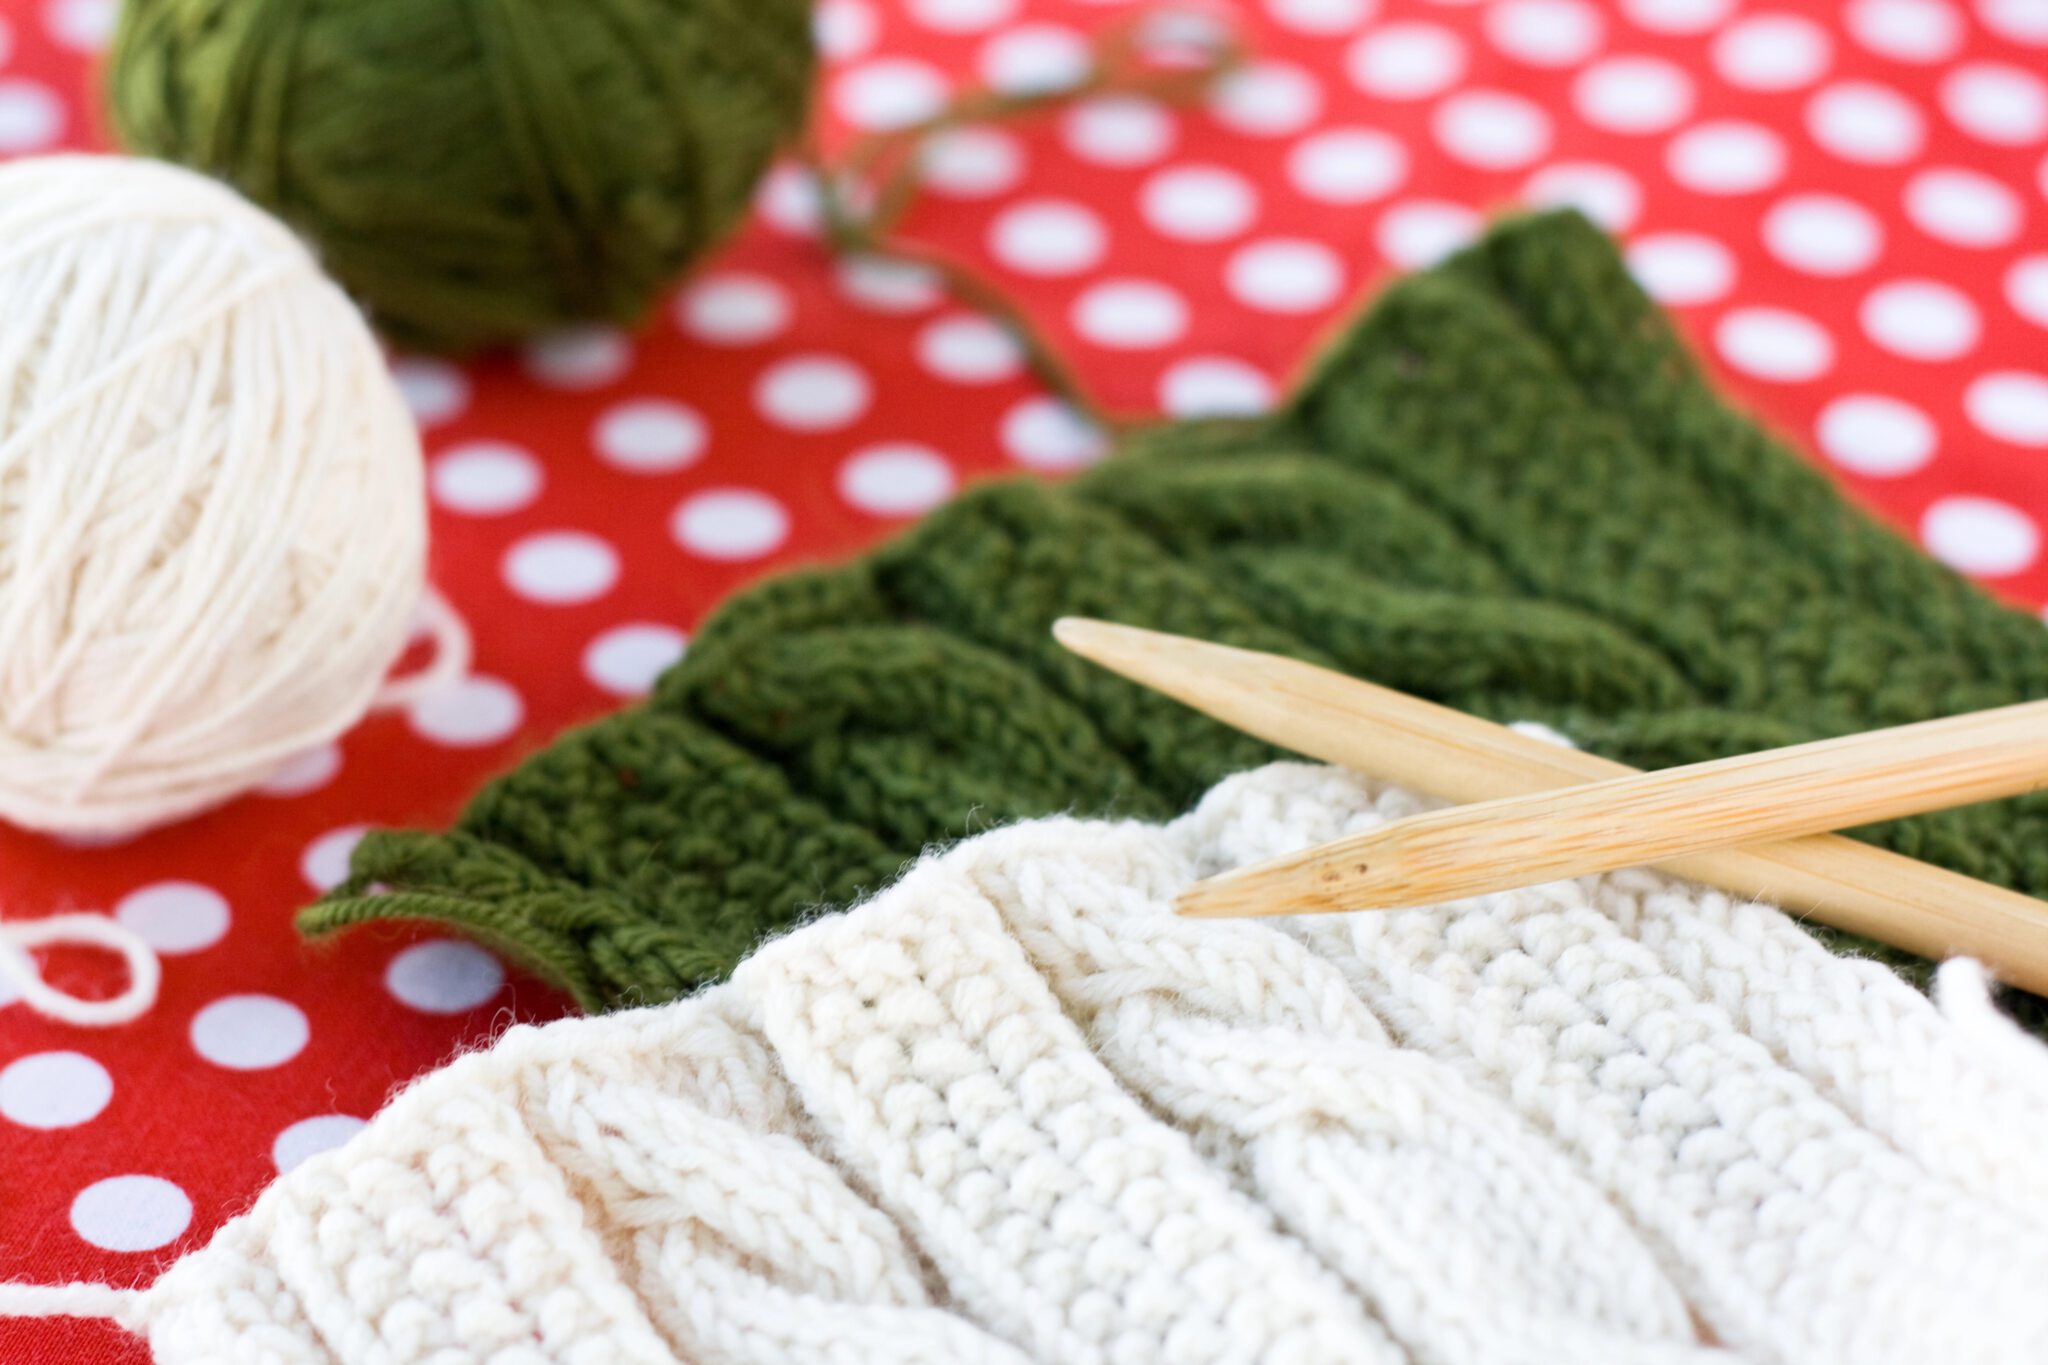
Choose beginner-friendly materials (they matter more than you think)
Look for:
- A light or mid-tone yarn (so you can see the stitch shape clearly)
- Smooth texture (avoid fluffy “eyelash” yarns at first)
- Medium thickness (often called DK, worsted, or aran—check your region’s labels)
- Bamboo or wood needles in a comfortable size (they grip yarn slightly, which helps)
These choices reduce friction—literally and mentally.
Consider a curated starter setup (especially if decision fatigue is real)
When you’re new, walking into the craft aisle can feel like learning a new language: ply, weight, gauge, circular vs straight. A curated kit can remove that early guesswork and make the first hour far more pleasant. If you’d like an example of what “beginner-appropriate” looks like in one place, you can discover knitting kits designed for beginners and use that as a reference point for yarn weight, needle size, and project difficulty—even if you’re simply comparing options.
The big idea isn’t “buy more stuff.” It’s “make fewer early mistakes” so your practice time actually turns into progress.
Learn these four fundamentals first (and ignore the rest for now)
Knitting tutorials can send you down rabbit holes. Keep it tight at the beginning. Master these four, in this order:
1) The slipknot and cast-on
You need a cast-on that’s stable but not overly tight. A long-tail cast-on is popular, but some beginners find it fiddly. If it frustrates you, use a simpler knitted cast-on first. You can always “upgrade” later.
2) The knit stitch
This is your home base. Spend time making rows of knit stitch (garter stitch fabric). It lies flat, it’s forgiving, and it helps you understand the basic stitch anatomy.
3) Binding off
A too-tight bind-off is one of the most common beginner issues. If you notice the edge cinching, go up a needle size for binding off or consciously relax your hands.
4) “Reading” your knitting
This is the skill that makes knitting feel easy. Learn to identify:
- The V-shapes of knit stitches
- The bumps of purl stitches (even if you aren’t purling yet)
- Whether your stitch is mounted correctly (so it doesn’t twist)
Once you can read your work, you stop relying on memorising steps and start responding to what you see.
The tension myth: you’re not “bad,” you’re new
Everyone’s first swatch looks a little uneven. That’s not failure—it’s your muscles learning a new job.
What actually fixes tension
Not willpower. Not gripping harder. The real fixes are:
- Consistent yarn path (wrap it the same way each time)
- Relaxed hands (white knuckles = tight stitches)
- Letting the needle do the sizing (form the stitch on the thick part of the needle, not the tip)
If your stitches are tight, don’t wrestle them. Go up a needle size or choose a slightly thicker yarn until your movements feel smoother.
A simple first-week plan that works
You don’t need hours a day. You need short, repeatable sessions that build muscle memory without fatigue. Here’s a beginner-friendly rhythm (and this is the only time I’ll use a bullet list):
- Day 1: Cast on 20–25 stitches; knit 10 rows.
- Day 2: Knit 10 more rows; practice binding off once (even if it’s “early”).
- Day 3: Cast on again; focus on looser tension and even stitch formation.
- Day 4: Learn to fix one mistake: picking up a dropped stitch with a crochet hook.
- Day 5: Knit a small square; bind off; weave in ends.
- Days 6–7: Start a tiny project (a coaster, headband, or simple scarf).
The point is repetition with purpose: make a thing, finish it, and learn one repair skill. That’s how confidence grows.
Troubleshooting: the three beginner problems you can solve quickly
“My work is getting wider”
You’re probably accidentally adding stitches—often by knitting into the strand between stitches or by not pulling the old stitch fully off the needle. Count stitches every few rows. Catching it early is half the battle.
“There are holes along the edges”
Edges can look messy at first. That’s normal. Later you can learn selvedge techniques, but for now: keep the first and last stitch movements calm and consistent. Don’t yank the yarn tight at the row turn.
“I dropped a stitch and everything unraveled”
This feels dramatic, but it’s fixable. Put the dropped loop on something (a spare needle, bobby pin, or crochet hook) and ladder it back up. Learn this once and knitting becomes far less scary.
The mindset shift that makes knitting stick
Ask yourself a kinder question than “Am I good at this?” Try: “Did I get a little more comfortable than yesterday?”
Knitting rewards patience in a very tangible way. You can see improvement row by row. And once your hands understand the motion, your brain is free to enjoy the calming, meditative part people always talk about.
Start small. Choose materials that help you, not hinder you. Make one imperfect square and call it a win—because it is. The “hard” part of knitting is mostly just the beginning. After that, it’s repetition, momentum, and the quiet satisfaction of making something real with your own hands.