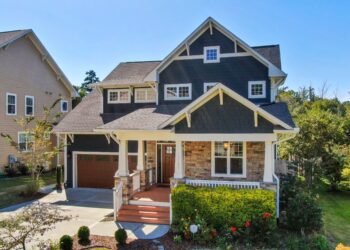
Introducing a private patio liberates the way you enjoy your home. Renovated balconies also offer a unique opportunity to extend the façade of your building, thus implicitly contributing an 8% increase in value on resale according to most garden experts, while also being a necessary escape from indoor homelessness.
Creating this kind of space requires an element of practical engineering, a sense of how spaces should look, plus aesthetic vision. The article will delve into the key stages of construction, including everything from basic stability to the eventual layout, to avoid cutting your DIY project any corners and leave you with a professionally built, durable relaxation zone.
As with any meaningful home upgrade, it’s important to plan both the design and the budget carefully—many homeowners even take time to visit the LBC Capital website when exploring financing options that align with their long-term property goals.
Terrace Location Selection
The terrace location you choose determines what kind of usability it will have, year-round. In the 48 contiguous states, southerly orientations receive the most consistent sun exposure, which benefits northern latitudes but might require additional shade in the Sun Belt.
Soil quality is different, and ignoring it will cause uneven settlement. Waterlogged, clay-heavy soils in the Midwest retain water and have the potential to rot wood or shift foundations. Coastal sandy soil drains quickly but does not conform well to hold large structural posts.
In fact, most local building codes recommend digging out at least 6 to 8 inches of topsoil until reaching stable subgrade. By getting rid of organic matter, weeds, and fungi do not develop under your structure, and the air spirit around your seating area remains fresh.
A terrace that’s wide open to the street or neighbor window. Incorporate natural boundaries, like established hedges or the side of your garage, to create a sense of enclosure. Having this on the side of your kitchen or near the sliding doors of the living room makes it an external working extension to the house.
It makes it easy to carry food and drinks out. Also consider which way the wind’s blowing. A spot hidden away on a corner of the house will block chilly winds and add several weeks to your outdoor season.
Durable Decking Materials
Traditional pressure-treated lumber continues to be the No. 1 choice in the USA and is by far the most affordable option, at about $15 to $25 per square foot installed. It is resistant to rot and insects. So many homeowners prefer the natural beauty of cedar and redwood for top-of-the-range finishes. These woods possess natural oils that resist rot. They do need to be stained every two years in order to retain their color. If maintenance is neglected, they turn a silvery-gray, which has its own rustic appeal but may not work with all house styles.
Composite Board Benefits
Composite decking has seen a boom in popularity, contributing to some 25% of the residential market. These boards are composed of wood fibers mixed with recycled plastic. You need not fret about splinters, warping, or sanding.
The initial price is almost twice the cost of pressure-treated wood, but that represents big savings over time. You’ll save money on sealants or professional cleaning services. Most manufacturers have 25-year warranties, so it’s a “set it and forget it” solution for busy people. Some major benefits of composite decking are the following:
- Low maintenance: No need for annual staining, sealing, or sanding
- Durability: Resistant to rot, insects, and weather damage
- Safety: Splinter-free surface, ideal for families and barefoot use
- Longevity: Often backed by warranties of 20–25 years
- Cost efficiency over time: Fewer repair and upkeep expenses
- Eco-friendliness: Made from recycled materials, reducing environmental impact
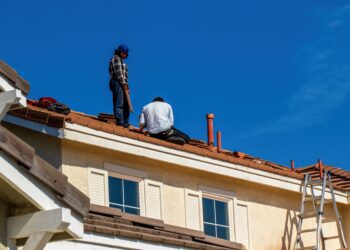
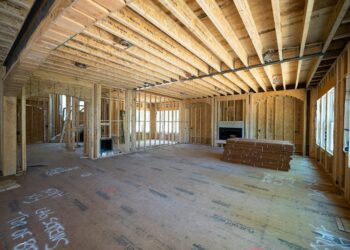
Essential Structural Framework
As such, the sustainability of your terrace really is all in what’s below the surface. There’s a reason why concrete footings are de riguer. You have to dig holes below the frost line, which varies from 12 inches in Florida to more than 48 inches in Montana.
Concrete shall be poured into cardboard tubes in the shape of a pier and piers that won’t heave up when the ground freezes. Galvanized steel post anchors are attached to these piers so the wood won’t come in contact with the wet concrete. This slight gap is a lifesaver for your timber.
Joist Spacing Rules
Joists create the skeleton that supports your weight and the weight of your furniture. 2×8 or 2×10 pressure-treated joists are standard for most residential terraces. The most common distance between them, called “on-center” spacing, is 16 inches.
If you opt to angle your decking boards diagonally, you need to narrow this spacing down to 12 inches so that the boards do not sag. Applying joist tape, essentially waterproof flashing to the top edges of our timber, can add a decade of life by keeping excess water from entering screw holes.
Hardware Integrity Standards
Never skimp on the metal parts that hold everything together. Plain gold or silver screws will rot within a handful of years from the chemicals in pressure-treated timber. Always use hot-dipped galvanized or stainless steel hardware.
As a result, structural screws are preferred over lag bolts, since they offer incredible shear strength and don’t need to be pre-drilled. Flashing at the juncture of the terrace and house is also nonnegotiable. It stops water from penetrating your home’s rim joist, which can cause thousands of dollars’ worth of unseen structural damage.
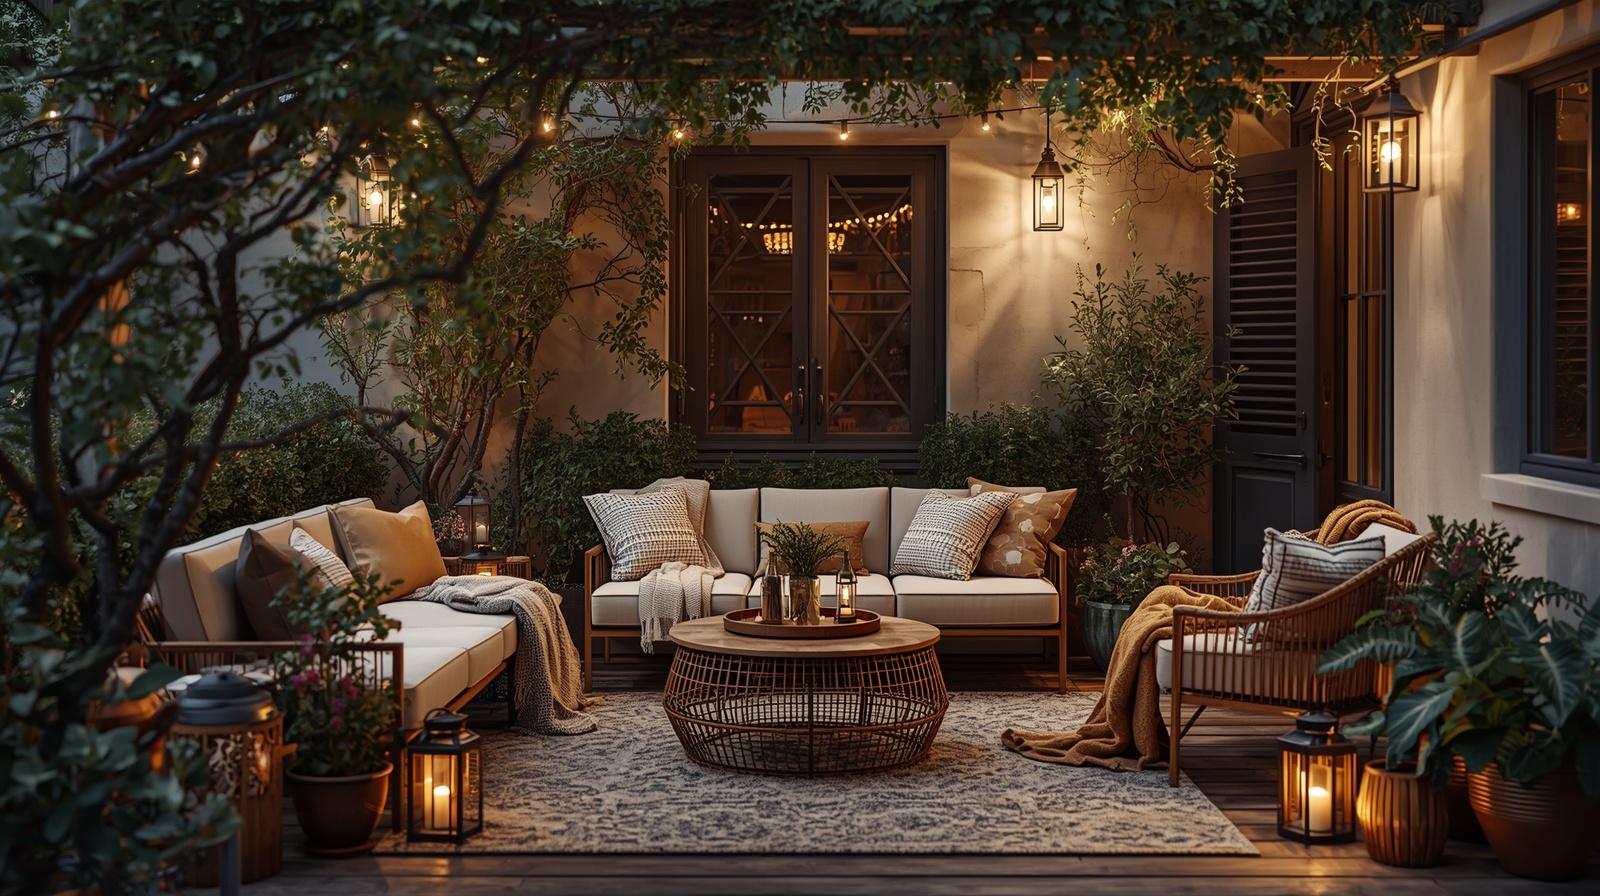
Ergonomic Furniture Layout
A terrace is a functional room without walls, so the flow of movement is important. You require a minimum of 36 inches of clear space for main walkways. This allows people to walk from the house to the stairs without running into someone’s chair.
Begin by marking the positions of your doors and steps. Divide them with an invisible line. Keep this path clear. If a large table is in the way, it can be awkward when guests have to shimmy around it. Clever planning gives the space a feeling of more linear footage than its actual square footage.
A good trick to “anchor” these zones without erecting physical barriers is using an outdoor rug. It provides a visual cue for the brain as to where the “living room” ends and the “dining room” begins.