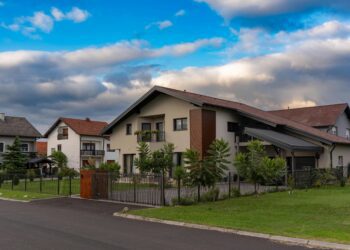
When a property inspection is on the calendar, most homeowners focus on paint touch-ups, small repairs, and interior details. What often gets overlooked? The trees outside. Yet inspectors regularly flag tree-related issues — from large dead limbs and trunk cavities to fungal growth, cracks, hanging branches, or trees leaning toward structures and utility lines.
Exterior maintenance can quietly influence insurance approvals, repair requests, and even a buyer’s confidence during valuation. Taking time to review your trees before the inspection can prevent last-minute surprises and help the process move forward without unnecessary complications.
Full-Lot Risk Identification
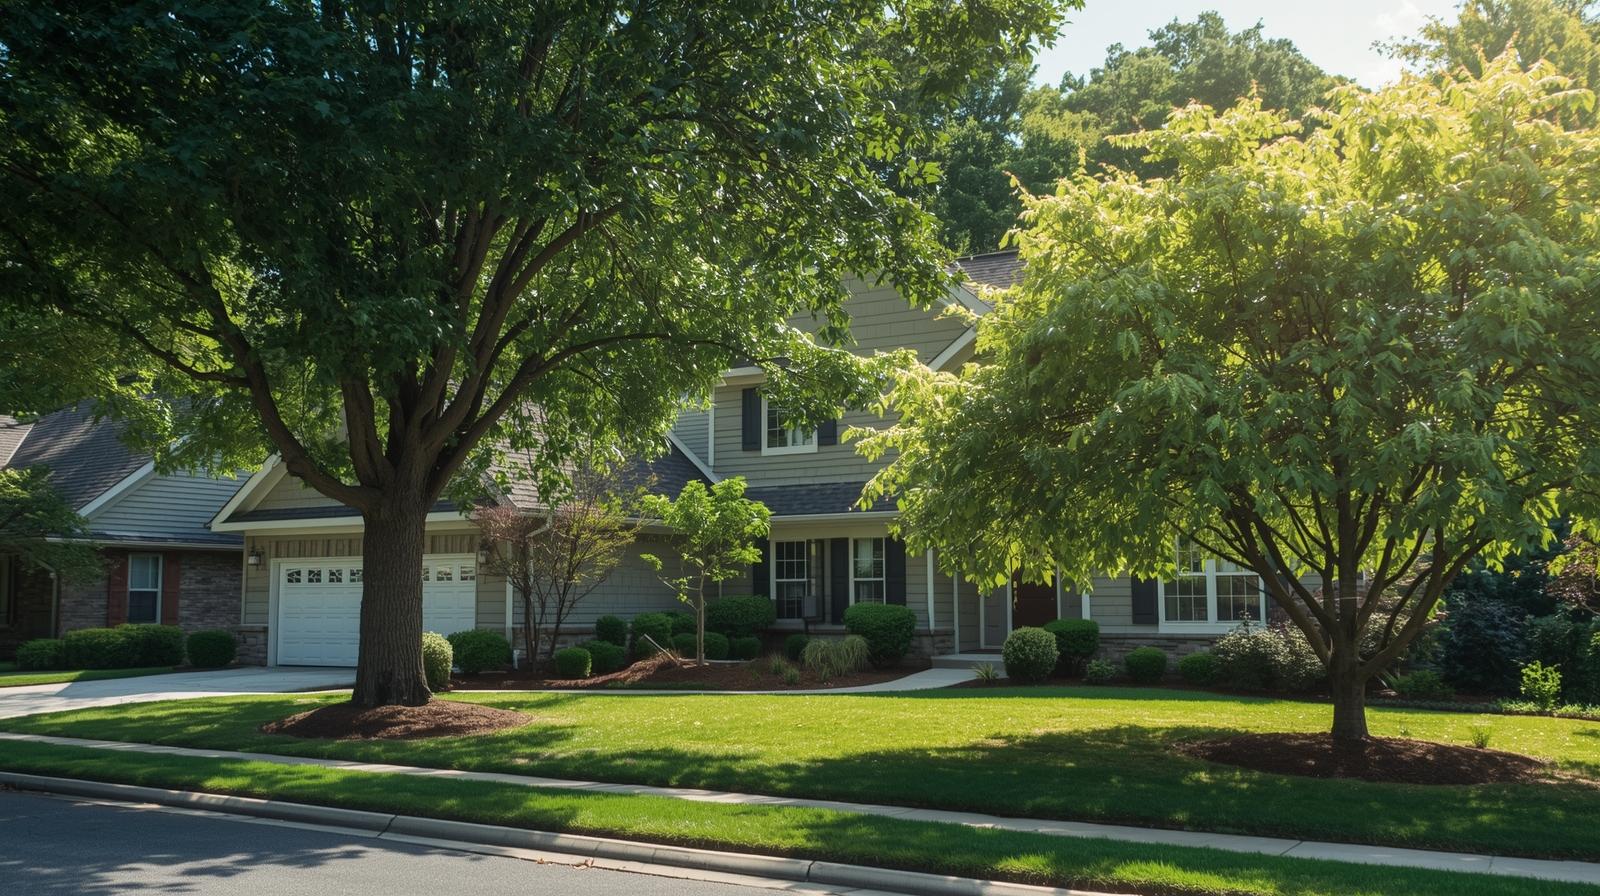
Side yards, rear setbacks, fence lines and areas behind detached garages or sheds often conceal dead branches thicker than your wrist, trunk cavities, fungal growth at the base, cracked or hanging limbs, and trees leaning off vertical. Tap the lower three to four feet of each trunk with a rubber mallet; hollow sounds or soft wood suggest internal decay. If you’re unsure what you’re seeing, a qualified tree service company can provide a professional hazard evaluation and identify risks that aren’t obvious from the ground.
Schedule this review thirty to forty-five days before inspection and stand back to compare tree height with roofs, driveways, fences, garages and overhead lines to assess strike potential. Record locations on a simple property sketch, attach date-stamped photos, and note planned corrective actions so contractors or inspectors can access clear references.
Resolve Structural Hazards Before They Appear in the Report
Heavy limbs over roofs, decks, garages, and driveways create direct strike risk and prompt inspection notes. Remove or reduce those limbs, cutting back to strong lateral branches instead of leaving stub cuts. Inspect the root flare for soil lifting, exposed or fractured roots or visible ground separation that suggests instability.
Fully dead trees within falling distance of structures should be removed because dry, brittle wood breaks unpredictably. Check multi-stem trees for tight V-shaped splits or bark compression between stems and correct or remove weak unions. Request before-and-after photos and work reports to support the inspection file, and complete high-risk corrections well before the appointment to reduce added repair notes.
Confirm Regulatory and Insurance Compliance
Tree work often involves more than a chainsaw and a ladder. Many municipalities regulate removals based on trunk diameter measured at breast height (DBH), and some protected species require approval regardless of size. Skipping permits can result in fines, stop-work orders, or delays during closing if violations surface in records. Check local codes early, especially if your property sits in a conservation overlay or HOA-controlled area.
Before hiring a contractor, confirm they carry active general liability coverage (often $1M minimum) and workers’ compensation insurance. Ask for a certificate issued directly from their insurer, not just a copy. If work is near shared property lines, verify ownership of boundary trees to avoid neighbor disputes. Clear compliance upfront protects you from liability claims and unexpected legal setbacks.
Prioritize Trees Based on Exposure and Cost Impact
Measured canopy overlap and calculated fall path help assess true exposure instead of judging trees by looks. Run a basic cost comparison: estimate removal and branch work versus likely repair bills for roofing, siding, windows, gutters, vehicles, or foundation patching if a failure occurs. Prioritize fixes that avoid the highest projected repair expense.
Access constraints such as narrow side yards, fences, slopes, dense planting, and nearby utility lines raise equipment and labor needs. Mark trees over entry paths, patios, and driveways because failures threaten people and property. Sequence work to treat trees with both visible defects and direct reach so limited funds reduce the highest immediate exposure first.
Finalize Site Conditions for Inspection Readiness
Once tree work is complete, the site itself should look orderly and safe. Stumps left 6–12 inches above grade, scattered limb piles, or sawdust on roofs can raise avoidable concerns. Grind visible stumps below soil level, compact and backfill the area, and level any ruts caused by equipment to prevent drainage problems or trip hazards.
Walk the property as if you’re seeing it for the first time. Check that gutters are clear of debris, driveways are free of wood chips, and no cut sections remain stacked against structures. A clean, stable yard signals that the work was handled professionally and that the property is maintained with care — something inspectors and buyers both notice immediately.
Getting ready for a property inspection doesn’t have to feel overwhelming, especially when your trees are in good shape. A little preparation ahead of time can prevent unexpected notes in the report and keep the process moving smoothly. Address visible concerns early, complete any needed permits, and keep documentation organized so everything is easy to reference. Clean, well-maintained grounds also leave a strong impression. When trees are properly evaluated and cared for, inspections tend to focus on confirmation instead of correction — and that peace of mind is well worth the effort.